How to make Resin Jewelry in Simple Steps?
Shreya Matta
November 27, 20222020 saw a boom in “do it yourself” or DIY crafts and activities, from bread making to the often unsuccessful at-home haircutting. Resin crafts, specifically resin earrings, seemed to secure a high spot on the list of DIY trends last year, and it seems to be sticking around.
Epoxy resin is a reactive liquid that cures as a durable plastic. In 2020, the search terms “How to make resin earrings” and “Resin earrings DIY” reached their peak popularity in the summer according to Google Trends. But this is obvious if you were on Tik Tok during this time. The popular video app was one of the main vehicles for this trend on social media, with resin craft creators gaining over a million followers. YouTube played a big role as well, with resin craft videos from channels like 5-Minute Crafts gaining over 35 million views in about a year.
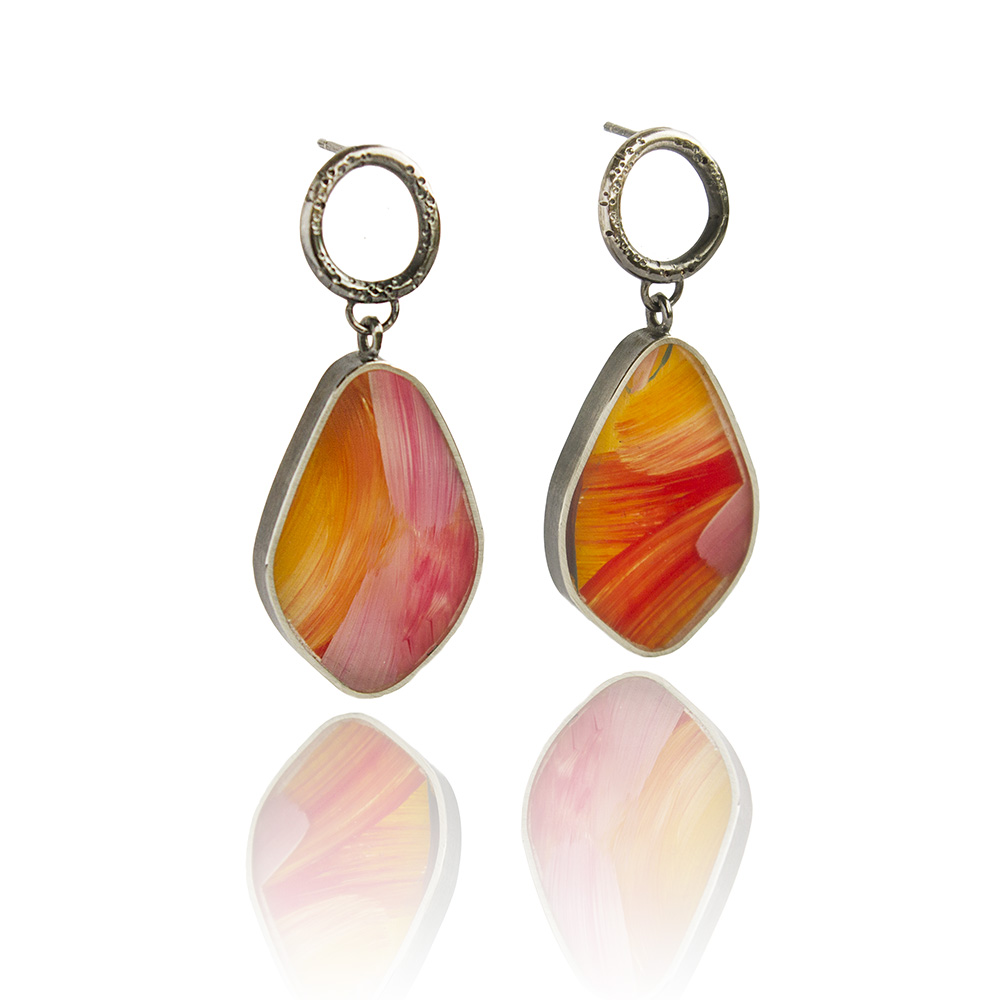
Resin jewelry is wearable art made with epoxy resin. Epoxy resin is a crystal clear material made up of 2 liquid parts that transform into a glossy solid when they’re mixed together. It’s ease of use, shine, and beauty lends themselves perfectly to making resin jewelry such as pendants, earrings, necklaces, and bracelets. Resin Jewelry is becoming the latest DIY trend in the Jewelry Industry.
Epoxy resin can be used to make jewelry in so many different ways.
Its versatility is why resin is so popular amongst artists, crafters, and DIY jewelry makers:
- resin can be used clear or tinted with colorants.
- decorative items such as dried flowers, glitter, or gold flake can be suspended within the resin.
- wood, beads, or precious gemstones can be layered with resin.
- resin can also be used as a glossy, protective topcoat for jewelry pieces made of polymer clay, paper, fabric, or butterfly wings.
Epoxy resin jewelry is fun and easy to make and you can handcraft designs to suit your individual taste and style. DIY resin jewelry provides endless possibilities to create statement pieces for yourself, to gift to friends and family, or to sell in your very own resin business!
What are these chemicals: Epoxy Resin?
Resin is a chemical compound that starts as a liquid and, when mixed correctly, hardens to create a shiny, waterproof, hard substance. Resin can be used to create striking jewelry, either on its own or with other decorative items layered or suspended within it.
Making resin jewelry takes a bit of time and care, as the raw materials can be toxic. But once you’ve mastered the basics of resin jewelry making and how to use resin, you can get really creative with your designs. Here’s how to make jewelry with resin, plus some beautiful pieces for inspiration.
Resin is a chemical compound made up of two parts: part A, which is the resin, and part B, which is the hardener. Both parts are liquids, but they solidify when they’re mixed together. There are different types of resin (epoxy, polyester, and UV). The hardening process takes between 24 and 72 hours, depending on the type of resin. Once dry, the resin is non-toxic, hard, shiny, and waterproof.
What is Resin Jewelry?
Resin jewelry is any type of jewelry that is made with resin—although pendants and earrings are the most popular. When objects like flowers, glitter, beads, or gemstones are solidified within the resin, the process is called casting. Resin can also be used with other jewelry materials, like wood or illustrations, to create a protective coating.
Types of Resin Jewelry
- Glitter Resin Jewelry
- Pressed Leaves or Flower Jewelry
- Leaf Skeleton Jewelry
- Colored Resin
- Clay Jewelry with Resin Coating
- Alcohol Ink Design and Resin
- Opal, Wood, and Resin
- Gemstones
How to Make Resin Jewelry?
Here, we’ll walk through how to make jewelry with resin using molds or casings that act somewhat like molds. If you want to learn how to make resin jewelry without molds, you can use the resin pour technique. Check out Kellie Chasse’s Skillshare class to learn how to use resin this way.
Step 1: Gather the Supplies You’ll Need to Make Resin Jewelry
- Metal and Plastic bezels, Molds, and casing
- Decorative items, like flowers, glitter, or shells
- Bezels and molds are used for making resin jewelry
- Spatula and plastic mixing spoons
- Measuring jug or cup (small ones are preferable for jewelry making)
- Bottles of resin – Part A and Part B chemicals are both needed for making resin jewelry
- Safety gear: Latex gloves, glasses/goggles, drop cloths/aprons, and a respirator are highly recommended when working with toxic resin.
- The object you would like to cast (flat acrylic cutouts in the shape of a Monstera leaf and a teardrop.)
- A container for your jewelry mold is slightly bigger than the object.
- Mold Making Material
- White Ink Sinker & White ResinTint colorant
- A sheet of gold leaf sheet or gold leaf flakes
- A 4-sided nail file or sandpaper from 100-2000 grit
- An electric drill and a tiny drill bit
- Jewelry hardware: earring hooks or posts, necklace chain, and closures.
- Pliers: needle nose and cutting
Different resins and brands are more or less suitable for different types of projects. For jewelry making and casting, opt for a resin that has a thinner consistency, which helps prevent little air bubbles from appearing in your work.
Non-toxic resins are available, but whatever type you have, it’s important to work in a well-ventilated room and use safety equipment to protect your skin, eyes, and lungs. Protect surfaces and floors with a drop cloth, and your clothes with an apron.
Step 2: Prep Your Bezels/Molds and Decorative Items
Select the flowers or other decorative items and the casings before getting to work. Before starting to work with the resin, make sure you have your jewelry items ready. Choose your bezels, molds, or casings, and have the flowers or other items you’ll be casting on hand. You don’t want to be fumbling around with these small items once you already have the resin mixed and drying.
Different types of casings will require different kinds of preparation to make them ready to receive the liquid resin. Check out an introductory tutorial on making resin jewelry—like Sarah Trafford’s Skillshare class, Floral Resin Jewelry Basics—to get a more thorough overview of the type of prep you’ll need to do for the items you’re working with.
Step 3: Mix the Resin
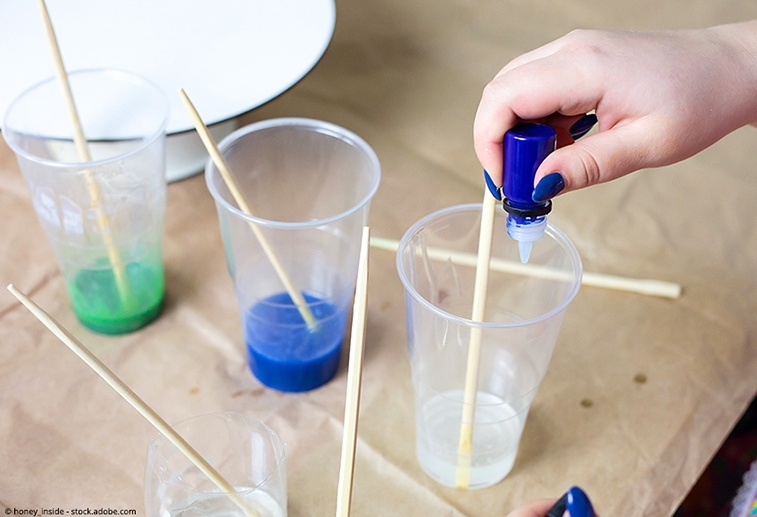
Mix the resin in small measuring cups.

To mix the resin correctly, follow the guidelines for your particular brand and type of resin. The labels will tell you how much of part A and part B to use. Take your time with this process as you don’t want to introduce air bubbles, which can spoil your jewelry look.
Step 4: Pour the First Layer of Resin
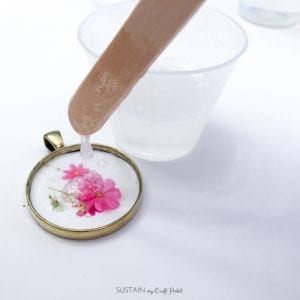
Pour the liquid resin into the mold.
Small pieces of jewelry will require two to three layers of resin. Adding multiple thin layers helps prevent bubbles from forming, and it also helps when casting. The first layer acts as glue for sticking down decorative items, like flowers, before you pour on the next layer.
Step 5: Add Your Decorative Item to the Resin
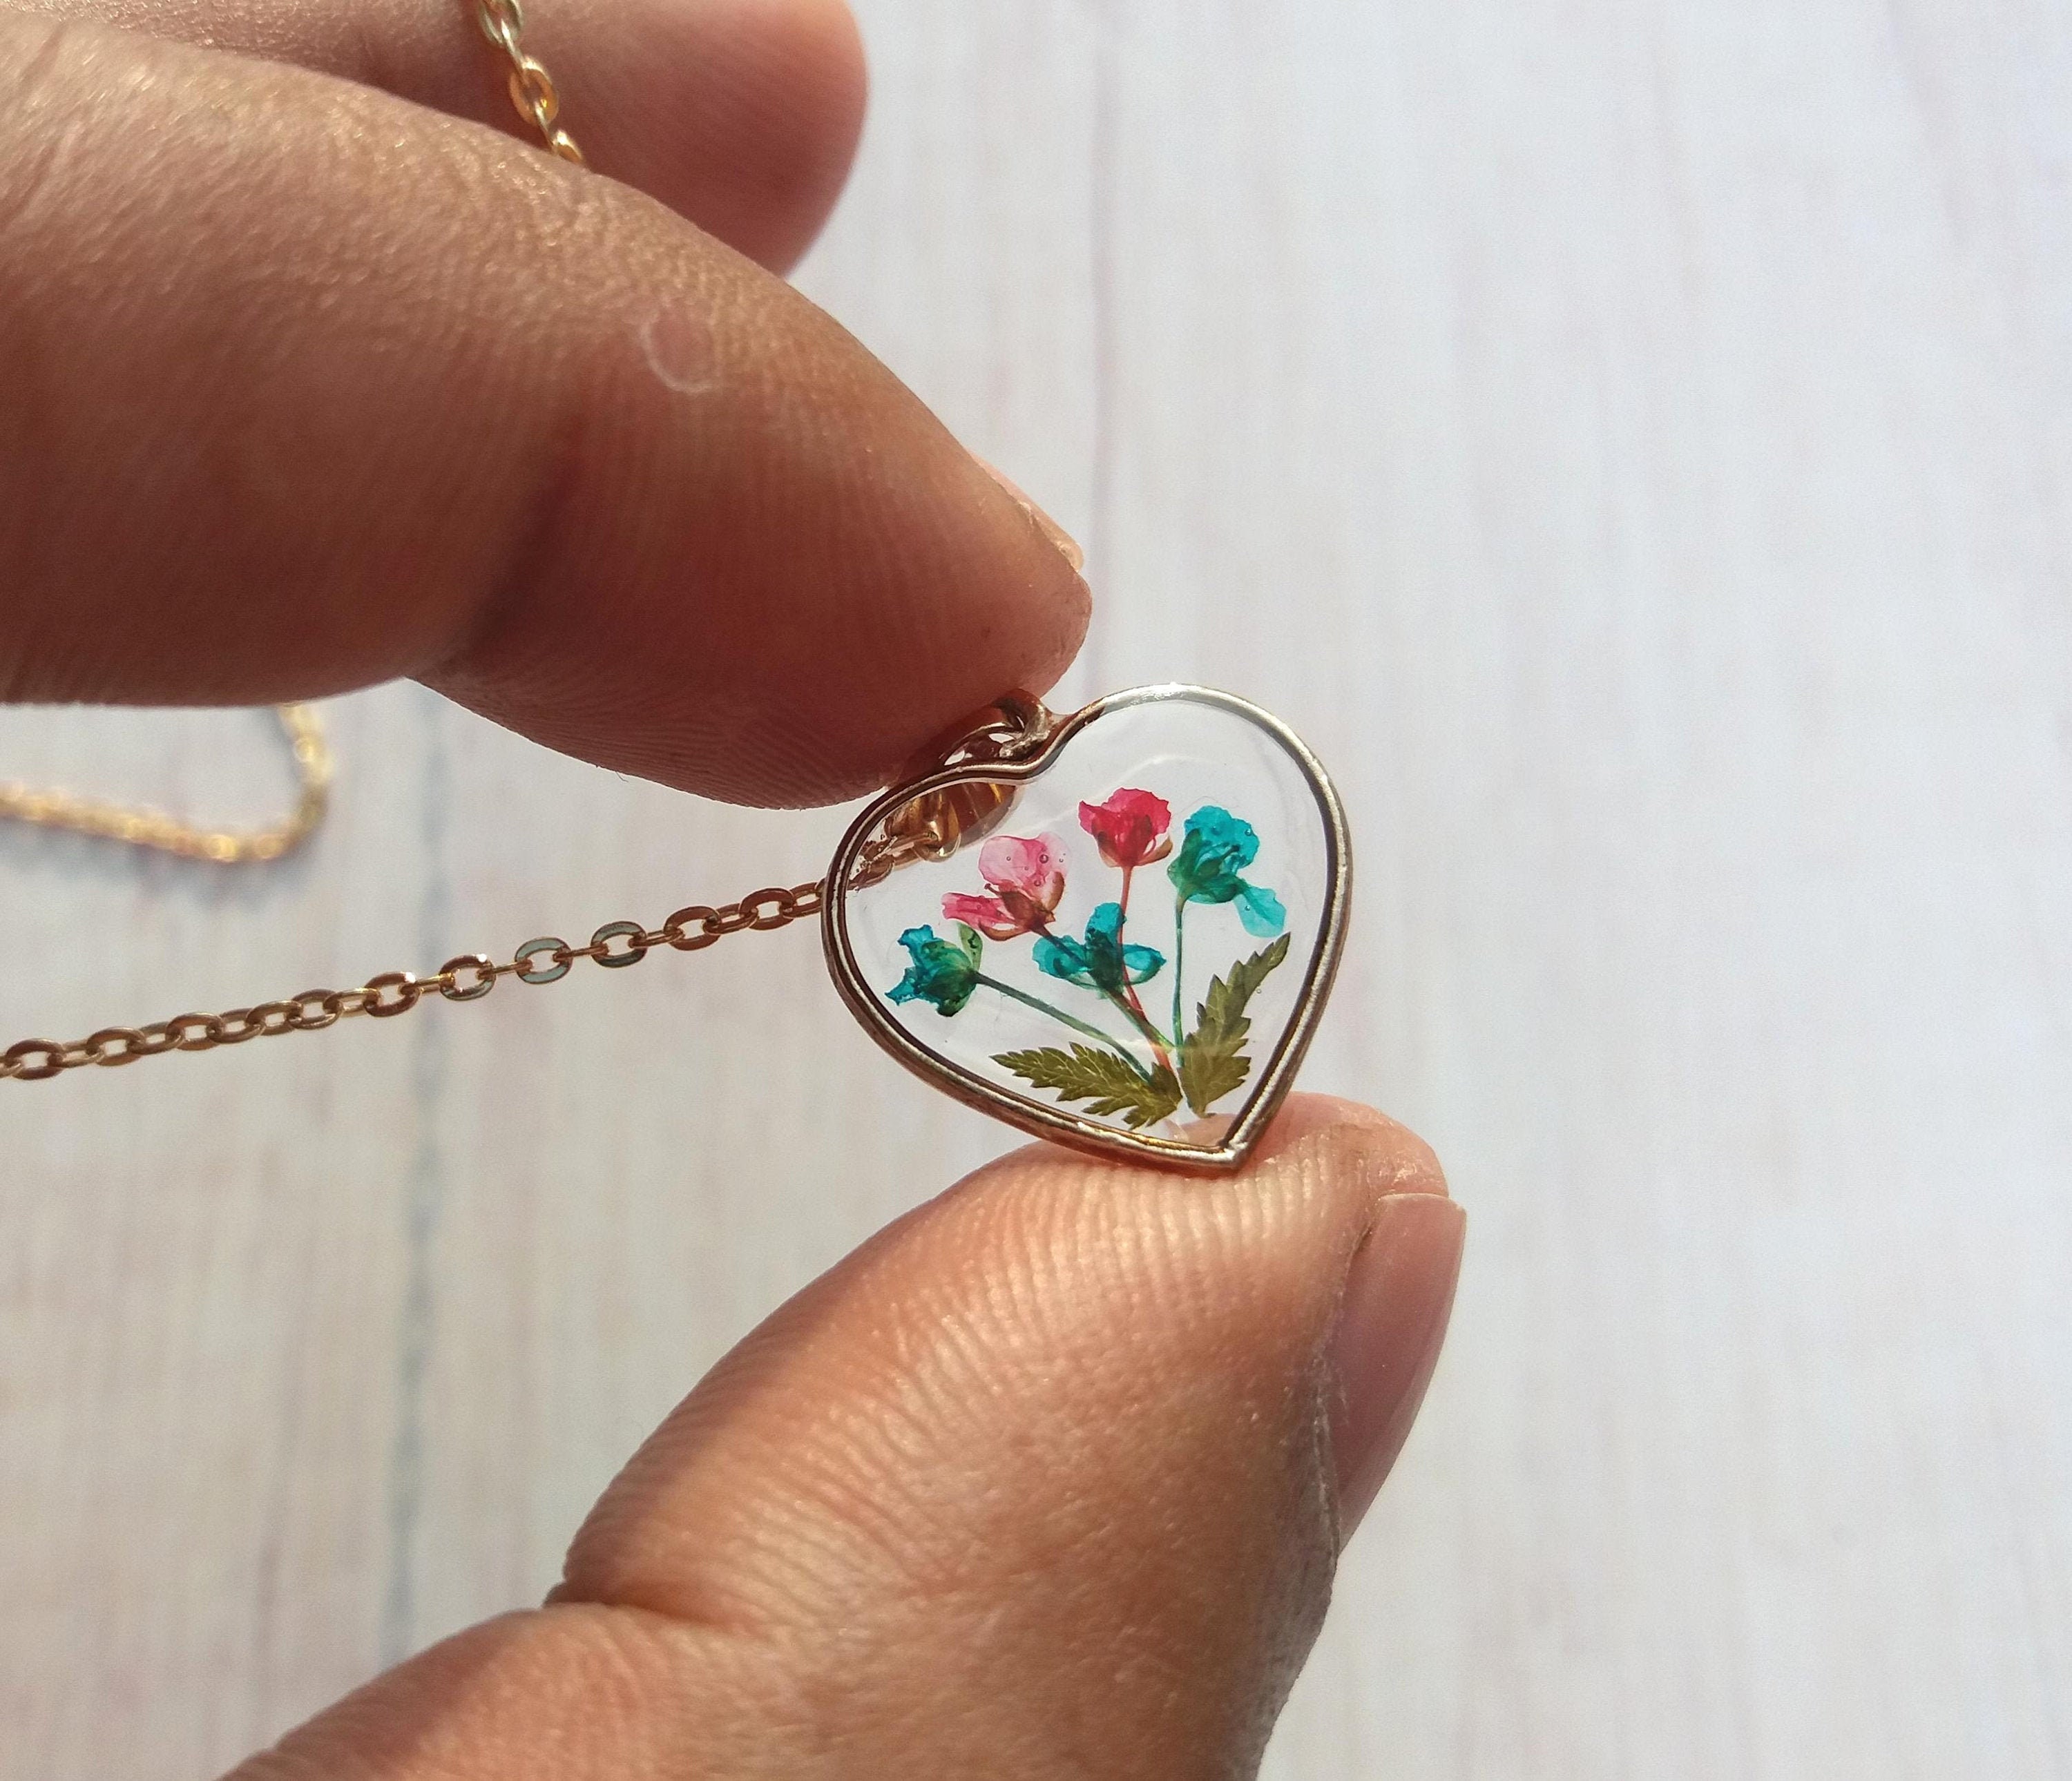
A dried flower is added on top of the first layer of resin. Now, add your flower or another decorative item to the first layer of resin. Use a pin to adjust its position if you need to.
Step 6: Repeat With Further Layers of Resin
Layer the resin in the molds. Wait several hours before mixing another small batch of resin and adding a second layer. You don’t need to wait until the first layer is rock hard, but it should be quite solidified.
Step 7: Remove from the Molds
Remove the resin from the molds, and voilá! Once the resin has cured (note: your brand of resin should tell you the length of time required), go ahead and remove the pieces of resin jewelry from the molds.
Step 8: Add Jewelry Fixtures
Now you’ve learned how to make resin jewelry with flowers! After the resin-making process is complete, assemble your jewelry. This may require adding hooks for earrings or chains and clasps for necklaces, as well as small tools and wire for creating holes in the resin or casing.
Safety is a concern when using resin. Craft ultraviolet resin is generally considered safer than epoxy, which Thomas uses, and comes with more safety precautions. Thomas says epoxy resin can be harder to handle than craft resin because of the added step of mixing it with hardener. Although epoxy resin is usually used for larger projects such as mold casting and wood coating, Thomas says she uses it for her earrings because it is more durable and long-lasting.
In their liquid form, resins are toxic. Breathing in certain types of resin fumes for prolonged periods or getting it on your skin can lead to serious health issues such as asthma, dermatitis, and eczema, according to the Occupational Safety and Health Administration.
Can you make DIY silicone molds for Resin Jewelry?
Yes. Creating your own resin jewelry molds is an easy way to custom-make your own designs. You can replicate and breathe new life into an heirloom or antique piece of jewelry, or transform an object you own into a unique piece of wearable art. As the molds can be used many times over, you can create multiple pieces to give as gifts or to sell as part of your own jewelry business.
Mold Making Material is an easy-to-use, two-part platinum silicone kit designed for making custom resin molds. The product comes in two parts that, when mixed together, cure from a liquid to a flexible, high-strength silicone, perfect for DIY resin molds. Whether you want to copy a flat item or a 3D object, there are no limits to the shape of the object you wish to replicate. The molds are high quality and can be used over and over again to create hundreds of jewelry castings.
TLDR (Too Long; Didn’t Read)
- Gather materials:
Epoxy resin, hardener, silicone molds or bezels, pigments, decorative elements, mixing cups, stir sticks, gloves, protective eyewear, tweezers or toothpicks, sandpaper, polishing cloth, and jewelry findings.
2. Prepare workspace:
Choose a well-ventilated area and cover the surface with wax paper or a silicone mat. Wear gloves and protective eyewear.
3. Mix epoxy resin:
Follow the manufacturer’s instructions, measure and mix the epoxy resin and hardener in a mixing cup.
4. Add color and decorations:
Add pigments to the resin for color, mix in or place decorative elements like glitter or dried flowers into the mold.
5. Pour resin:
Carefully pour the resin mixture into the mold or bezel. Adjust elements and remove air bubbles with tweezers or toothpicks.
6. Allow resin to cure:
Let it cure in a well-ventilated, dust-free area for the specified time (usually 24-72 hours).
- Demold and finish: Remove the piece from the mold, trim excess resin, and smooth edges with sandpaper. Polish with a cloth.
- Attach jewelry findings: Add findings like jump rings, earring hooks, or chains to complete your resin jewelry piece.
Final Thoughts
In conclusion, creating your own resin jewelry is a fun and rewarding experience that allows you to express your creativity and personal style. With just a few simple steps, you can transform ordinary materials into beautiful pieces of wearable art. Remember to take your time, experiment with different techniques and materials, and most importantly, have fun! Whether you’re making jewelry for yourself or as a gift for someone special, the possibilities are endless. So why not give it a try? You might just discover a new passion for crafting and jewelry making that lasts a lifetime.
All Tags
Loading...
Loading...


![How To Make Resin Jewelry 101 [All You Need To Know]](https://homesthetics.net/wp-content/uploads/2021/04/How-to-Make-Resin-Jewelry-101-02.jpg)

